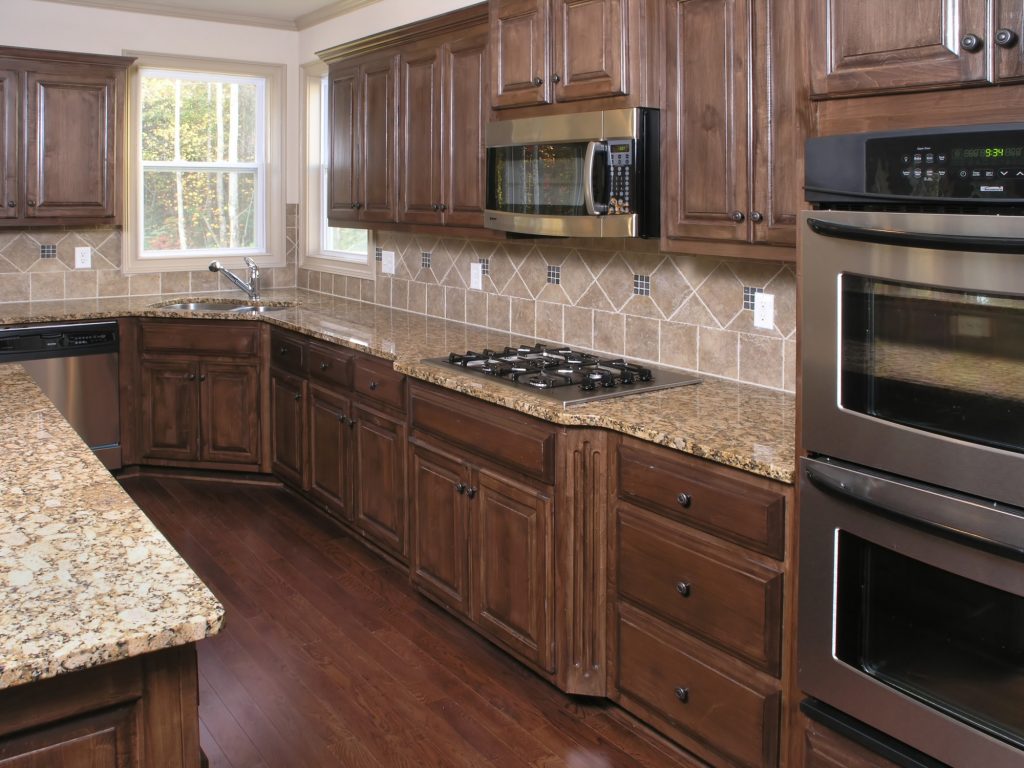
There’s not much worse than a kitchen with flaking and worn out cabinets. Kitchen cabinets are one of the first things guests see when they walk into the room. Plus, all kitchen designs use cabinets as the important backbone to its style.
But when you’re working on a budget, it’s not possible to call in the professionals to spruce up the place.
In that case, it’s time to learn how to refinish kitchen cabinets yourself. Keep reading as we take you through the process step-by-step.
1. Remove Hinges and Handles
At first glance, it might seem as though you’ll save both time and effort by leaving the cabinet doors in place. While it’s an easier way to do it, the result won’t be what you want.
Those hinges and handles are notorious for catching on paint brushes and smearing the paint. Plus, it’s a lot harder to get into those little nooks and crannies. Better to have as wide and flat a surface as possible.
Detach all of the hinges and the handles. Keep all these small parts secure in a plastic bag so they don’t get lost. Now you’ll be able to work without anything getting in the way and messing up your project.
2. Clean Up Cabinet Surfaces
It’s no good to apply paint to a dirty surface. Oil and grime from our hands embed themselves into the wood of the cabinet. This oil has the potential to react with the paint and give you a bad result.
Use a sponge and degreaser to get rid of those oils from any surface you plan to paint. Let the surfaces dry before moving on.
3. Apply Primer
This is a little known secret that many cabinet refinishing companies swear by. It’s more work, but it’s worth the trouble.
A primer gives your cabinet a proper surface to stick upon. It provides a protective layer between the cabinet and the paint. And it acts as an undercoat of color so that your top coat looks even better.
Apply a full two coats and be sure to let them dry in between each layer.
4. Time to Paint
Watching as your old cabinets transform into something new is the best part of refinishing cabinets. If your primer does its job right, you’ll only need to do one coat. But multiple coats is sometimes necessary to get an even finish.
Don’t forget to let everything dry before painting on a new layer. Paint in stages so that as you’re painting one thing, something else is drying in the meantime.
5. Reattach Hinges and Handles
Before putting your cabinets back into their rightful places, give the hinges and handles a cleaning as well. It’s no good to put dirty handles on your beautiful new cabinets. Oiling the hinges is often necessary after cleaning so that they don’t squeak.
If you plan to change to new hardware, be sure to get ones that match the dimensions of the old ones.
Refinish Kitchen Cabinets to Bring New Life to Your Home
Learning how to refinish kitchen cabinets gives you the freedom to do it whenever you want. Small projects like this one have a big impact on how you and others view it.
So don’t let refinishing cabinets stay on your to-do list any longer. Cross it off today. With the help of the instructions written above, you’ll have fresh cabinets in no time!
When you’re finished with this project, why not check out some other easy repair projects to do around the house?

