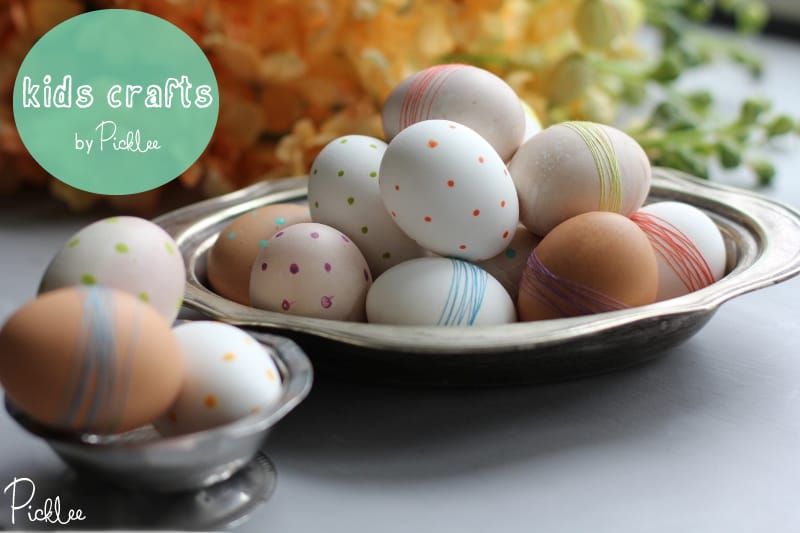
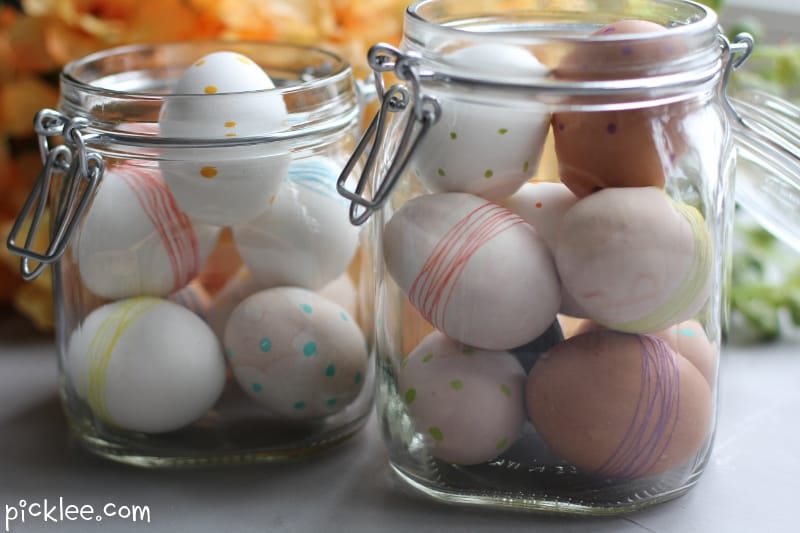
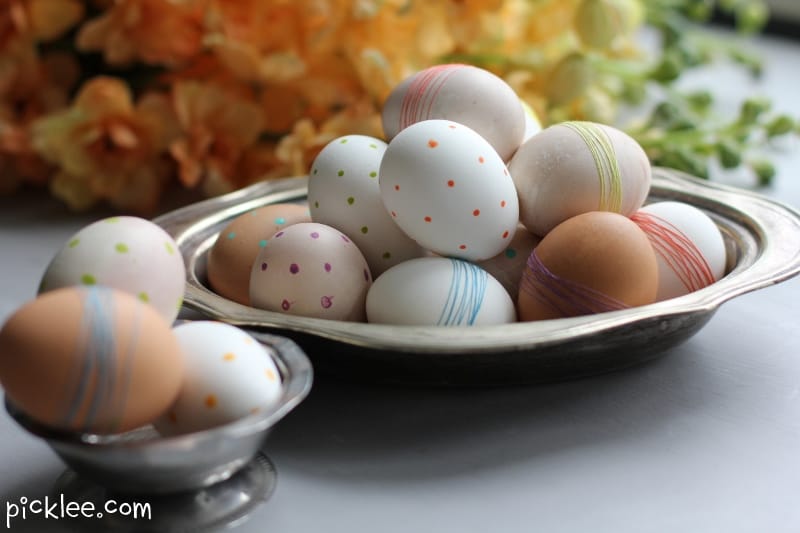
Hippity-Hoppity-Easter’s on it’s way! This year, I decided I was tired of the usual, basic Easter egg dying. I wanted to get creative and display some hip, fun Easter eggs; and as always, I wanted to make my Easter eggs using only things I had around the house. I came up with a plan that used only beet juice, string, and paint. So without further ado, here are my Polka Dot & String Easter Eggs!
Check out my retro Easter egg garland for another fun Easter project!

Polka Dot & String Easter Egg Fun {DIY}
part of Picklee’s Kids Craft Series
GATHER UP:
- 1 Dozen White Eggs (plus 4 Brown Eggs-optional)
- 4-5 spools of brightly colored string
- 4-5 bright paint colors
- one small can of beets in juice
- white vinegar
- Elmer’s glue
- dotting tool (or pencil with small nail)
METHOD:
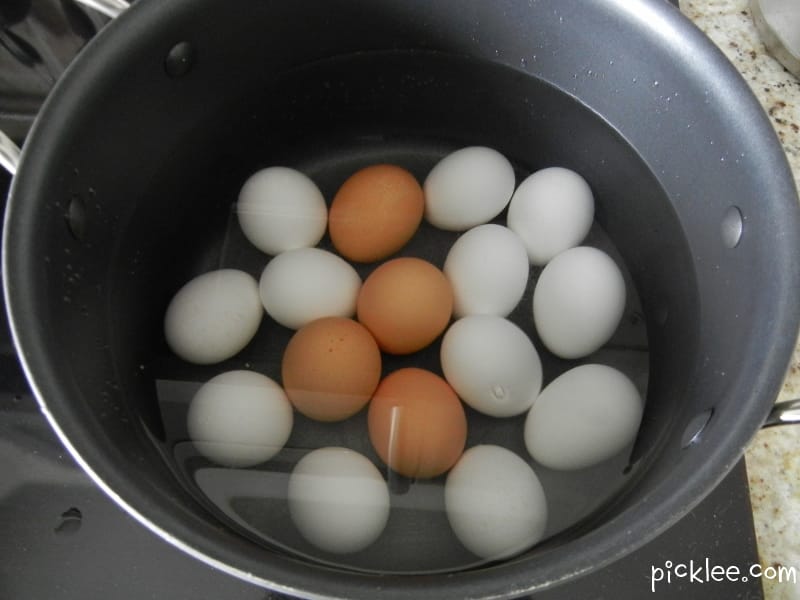
In a large pan, boil the eggs for 8 minutes
Now, it’s time to dye a few of the eggs (naturally!) in beet juice, just to give them a bit of a pink color. Pour the juice from a can of beets into a bowl, add 2 tbsp. of white vinegar.
Submerge a few of the white eggs in the beet juice dye mixture for approx. 2 hours. I dyed 6 white eggs pink, this left me with 6 pink eggs, 6 white eggs, and 4 brown eggs.
Select four to five bright thread colors and bright paint colors to use on your Easter eggs.
First, we will make the string wrapped eggs. I wrapped approx. half of the eggs in string, and painted the other half with polka dots. Using a clear drying glue like Elmer’s Glue, paint a thin layer of glue around the perimeter of the egg where you will wrap the string.
Wrap a long piece of string around the perimeter of the egg where you applied the glue. It should dry clear and very quickly, approx. 5-10 minutes.
Now, it’s time to make the polka dot Easter eggs! For this step you will need a dotting tool. It’s okay if you don’t have one, you can simple stick a small nail into a pencil eraser for the same effect!
Dip your dotting tool (or nail head) into the paint and apply dots around the eggs. Get creative with your colors, this is fun! You can make some eggs with multi-colored dots too!
Let the your Easter eggs dry for a bit and then have fun using your polka dot & string Easter egg’s in all kinds of different Easter displays-the possibilities are endless!
The Polka Dot & String Easter Eggs are part of our Kids Crafts Series, click here for more fun kids crafts!

Happy Easter!


2 responses to “Polka Dot & String Easter Egg Fun {DIY}”