We have a great little seating area on our deck for lounging out on those summer nights when the mood strikes us right =) We created this outdoor space last year as an alternative to the big bulky patio table that we never used, and took up way too much space on our tiny deck. I love the look of our outdoor space with all the big comfy cushions to lounge out on…however, what I didn’t anticipate was how little time the cushion covers would last due to fading and staining from unpredictable New England weather. As much as I tried to keep the cushions looking good, rain and sitting all day in the sun eventually got the best of them! This is what the cushions looked like at the end of last summer:
After just one season, they were nothing but warn and faded with ugly mold spots from rain, yuck! I cringed at the idea of having to buy all new cushion covers. It just seemed so unreasonable after I had just purchased them last year, and they certainly weren’t cheap either! So I came up with a quick and inexpensive solution for giving the cushions and entire outdoor space a new look!
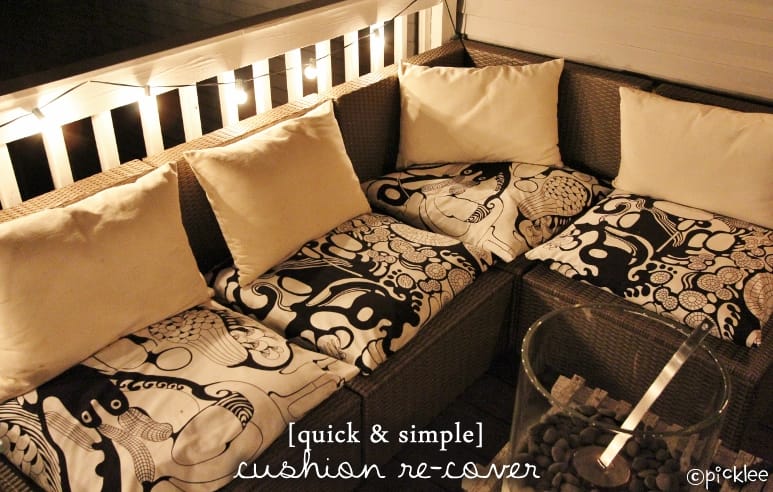
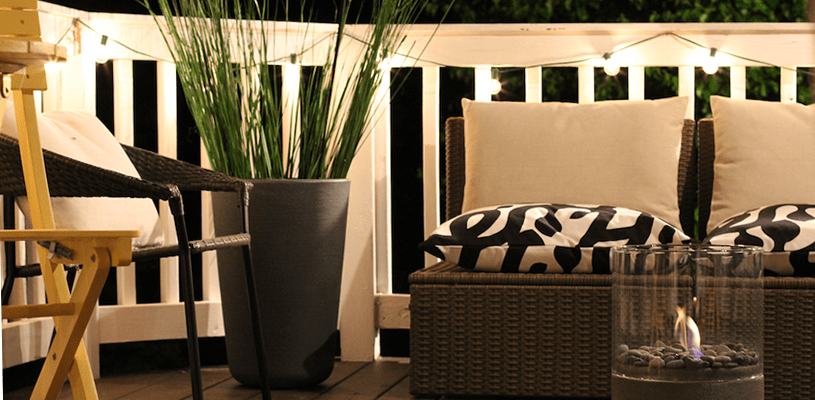
Here’s how the space looked after my simple no sew cushion cover transformation!
Quick & Simple No Sew Cushion Re-Cover {DIY}
If you can wrap a present, you can tackle this project! Get the look of a fresh, updated space at a fraction of the cost!
GATHER UP:
your old cushions
fabric of your choice, yardage will vary depending on your cushions (my project used approx. 3.5 yards)
Permanent Fabric glue(I used Fabric Fusion)
METHOD:
Lay your old cushion cover on top of your new fabric. Cut the new fabric to size leaving approx. 2″ overhang around the old cushion cover. This method may vary for different projects. Since my cushions were going outside and the bottom wouldn’t be visible I chose to save fabric by not covering the entire bottom. If you want to cover your entire cushion, simply wrap the new fabric around the entire cushion and cut it to size (still leaving an overhang of approx. 2″ around).
Apply a line of fabric glue along the edge of the new fabric, then fold it over and adhere it to the bottom side of the old cushion. This process is a lot like wrapping a present!
*If you are re-covering your entire cushion, you will still do this step, but the opposite side of the new fabric cover will be much longer so that you can bring it over and adhere it all the way across the bottom side after this step.
Now apply the fabric glue the exact same way but to the other side of the fabric, fold it over and adhere to the old cushion. Next, adhere glue to the top portion of your new fabric, then fold it over and adhere to the old cover. The only section of the new cover left to adhere should be the area near the old cover’s zipper.
*If you are re-covering the entire cushion, you will need to adhere the top portion of the fabric to the old cover first. Next, you will bring the long section of new fabric all the way across the bottom of the old cover. Then much like wrapping a present, fold under the edge of the fabric, then adhere it to the opposite edge of the cover.
Now we need to adhere the new fabric to the section of the old cover where the zipper is, still keeping the old cover’s zipper accessible. If you have a clean fabric edge (image below illustrates this), you can simply trim it and line it up with the zipper, then apply the glue and adhere to the old cushion. Or you can fold the new fabric under, apply the glue, then adhere it to the old cover.
*If you are re-covering the entire cushion, you will need to adhere both sides (top and bottom) of the new fabric to the old cover. Fold under the sides of your fabric to make sure the edges are clean.
All sides of the new fabric should now be secured to the old cushion. Your no-sew cushion cover is complete!
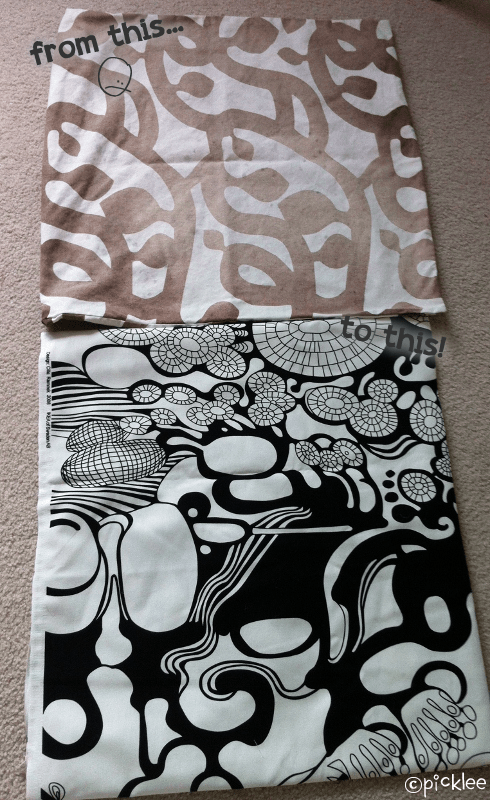
Here’s one of my old cushion covers next to a freshly re-covered one, what a difference!


what if i cant wrap a present?
I would like to know where you got that b&w fabric used in this project or the brand and pattern name I want it hahah
That fabric is from Ikea, I don’t know the name but you should be able to find it there!
Depending on the size of your cushions, you can also use pillow cases. Shower curtains are waterproof, so they work well, too!
I love this idea. I have a glue gun so I’m going to try using it first….but I’m glad to know there is a fabric adhesive out there (Fabric Fusion) – I’ve been looking for one! Thanks!
Love you stuff! Creative, colorful, youthful, fun. Not stuffy. Thanks for doing a great job with your lovely paints and interesting finishes.
Thanks for sharing! Might be crazy, but I think we’ll be using some of these tips when we reupholster our couch. Indoor couch! 🙂
Hi Alanna – I’m thinking of doing the same thing to our old couch. Did you end up doing this? And if so, how has it held up? Can anyone let me know how well fabric glue holds up compared to sewing? This could save me so much time (especially as I’m really terrible at sewing!)
I’ve made a cushion for a small chair in my bedroom a couple of years ago using this tactic. Instead of using the foam cushion it came with, I just purchased some scrap foam piece from Joann’s and recreated a new one. I did a no sew covering with Fabri-Tac fabric glue (I swear by this stuff for I’ve been using it for about 10 years), and it is still holding up like the first day I did the cushion. The seams never came open.
i think it`so fun it`s a grat pris are cushion look grat .