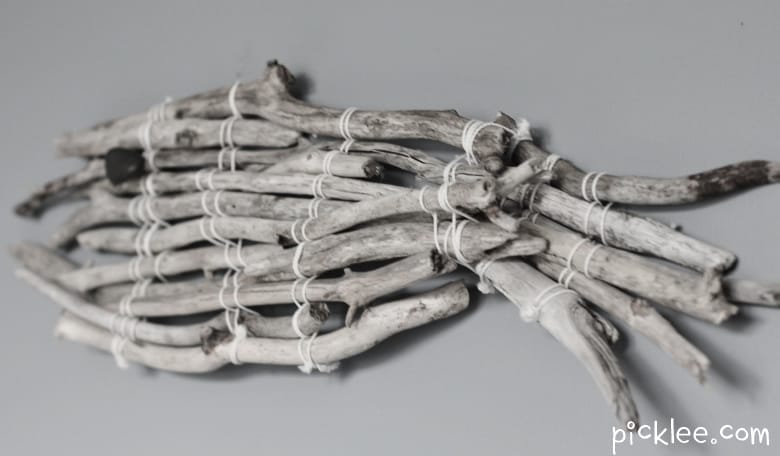
Living in New England I see so many amazing driftwood creations at local boutiques and usually they come with a pretty hefty price tag. Driftwood is beautiful and great for all kinds of projects, but it’s true beauty is that it’s free of course! So, feeling inspired by local driftwood art and considering it’s endless potential, I decided to create The Driftwood Fish. This surprisingly simple art project is virtually free to create and it looks like something straight out of a coastal beach shop.
Gather Up:
10-12 pieces of drift wood, approx. 12-15″ in length
5-6 piece of driftwood, approx. 6″ in length
a roll of string of thin twine
one beach rock
hot glue
 Pull together the drift wood and string. Start by playing around with different arrangements to form just the body of the fish.
Once you have the right arrangement for the body of the fish, begin to weave a piece of sting through the driftwood in an “over, under” motion. Weave the string across the sticks and back, then tie off the end. Repeat this two to three times across the same spot to properly secure the driftwood sticks together.
Using the same weaving technique as above, secure the driftwood together in two more places (the middle of the fish and toward the back). Your fish should be woven together in three spots to ensure the sticks are secured properly. *If your fish is smaller, you may only need to weave it together in two spots.
 Now that the body of the fish is complete, it’s time to make the tail. Using the smaller sticks, arrange them in a fish tail formation.
Weave the fish tail together with in two places using the same weaving technique as for the body of the fish.
 Now, it’s time to secure the fish’s tail to the body. Overlap the tail underneath the body slightly so that you can weave together sticks from the body and tail. Again, use the same weaving technique, this time to secure the tail to the body. Use hot glue to attach any spots that you can not weave.
 Your driftwood fish is almost complete! The last step is selecting a beach rock to use for the eye.
Once you select the right beach rock, use hot glue to secure it to the driftwood fish.
The Driftwood Fish is now complete!
Check out another great beach art DIY here.


Jordan that is absolutely beautiful!
“The true artist has the ability to see beauty in all things; recognizing their usefulness where others might see only firewood you saw a fish. That is wonderful! Such a gift enables one to transform such treasures giving them new life”…Me 🙂
Thank you so much, that means a lot 🙂
I love, love, love your fish! I’ve got all the driftwood to make a fish (it looks more like a shark though) and I was just going to glue/nail them all together but after seeing this, I’m goin’ with rope! Thank you and I have this linked to my nautical post too today, for some seaside inspiration!
I’m so glad I could help inspire you =)
Love all your Beachy Chic decor ..and boy do I have driftwood…we summer on the Oregon coast …and my whole house is shabby beachy chic…so I will borrow a few ideas from you…Im a mermaid nut so I do lots of tales on driftwood signs…and am doing a mermaid wand as soon as we get back…thanx for ALL your picks …love em and all the directions…your a crafty girl !!…looking forward to yr wedding pix…Hugs, Nola